
Murderthon Guides
Beginner to mid-game tutorials for Classes, Masks, West Park, generators, and chase fundamentals.
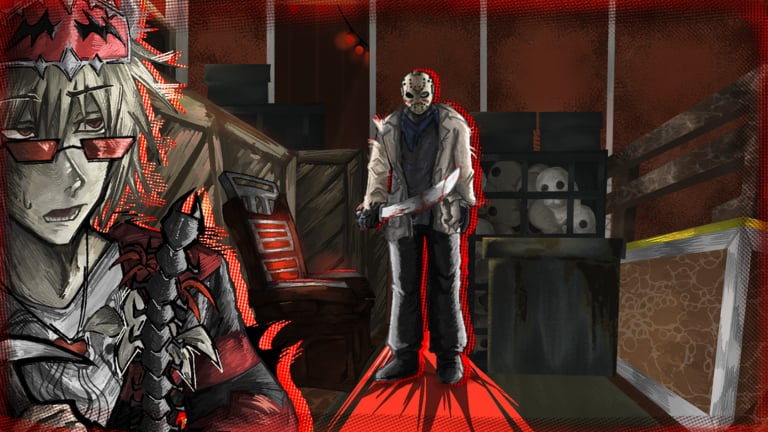
This Guides Hub is the tutorial spine of the Murderthon wiki. The game is an asymmetrical Roblox 4v1 horror title from Chilly Creations: four Classes repair generators and escape while one Mask hunts, downs, and executes on electric chairs. Because the build is still alpha, clear fundamentals beat random tips copied from unrelated games. Murderthon takes cues from Dead by Daylight-style pressure and Flee The Facility energy—not Forsaken—so the guides here stay focused on generators, pallets, vents, terror radius, chair saves, and map routing on arenas like West Park.
Use this index to jump straight into the guide that matches your search intent. Each linked page aims for deep, practical steps you can run in the next lobby. Pair tutorials with the Tier List Hub when you are ready to specialize, redeem codes for Shards, and skim updates—including the Mask of Slasher checklist—so you are not practicing a patched tech.
Start here
Getting Started
Day-one walkthrough for new Roblox players landing in Murderthon. Covers match goals (repair five of seven generators, open gates, hatch for last survivor), what Masks do on the other side, how Shards and mission unlocks work, and a sensible order for learning free Masks like Ripe and Fate before spending roughly 5K Shards on specialists. Ideal if you just redeemed your first codes and want structure.
Controls
Quick-reference for Sprint (Left Shift / L1), Crouch (Left Ctrl / Left Stick), Attack (M1 / R1), Ability (M2 / R2), Communication Wheel (Middle Mouse / D-Pad Up), and Unlock Mouse (Y). Includes habit tips so you stop fumbling the wheel mid-chase. Cross-link this with the printable-style checklists on Tools.
Chase and pressure
Looping Guide
Survivor-focused chase guide: limited pallet economy, vent breaks, scratch marks while sprinting, and how to waste Mask time without dying on the second hit. Ties into Class tools—Handyman pallet support, Enforcer blinds, Cloaker invis windows—and map notes for West Park / Frost sightlines.
Killer Guide
Mask-side strategy for downs, carries, and electric chair executions. Covers terror radius discipline, when to leave a slug versus commit to a chair, how to punish greedy generators, and kit-specific angles for Fate traps, Ripe madness, Sin rushes, Pierce gen teleports, Sheol ranged chips, Jammed cuffs, Divide vent denial, Lens information plays, and live Plague zone pressure.
Maps and objectives
West Park Map Guide
Layout instincts for the Westcord park trial: garage and stair alcoves, vent density, scarce pallets, generator routing between islands, chase tiles that actually burn time, where Lens cams hurt, and how Handyman or Recon stabilize the map. Strong reading before you queue Pierce, Jammed, Lens, or Divide on park grounds.
Generators and Escape
Macro win guide for Classes: five of seven generators, skill-check habits, cooperative repair, chest priority without throwing tempo, exit-gate opens, hatch for the last survivor, chair-save timing, and when to stop a gen for a rescue. Pair with looping so chase skill protects the objective clock instead of replacing it.
How to study with these guides
- One role per session. Swap every match if you want, but review only one guide afterward so lessons stick.
- Watch one video max per topic. Where a guide embeds a real YouTube breakdown, use it mid-article, then return to text checklists.
- Name the mistake. “I died because I sprint-scratched into a dead zone” is trainable; “Mask OP” is not.
- Revisit after patches. Alpha balance and event Masks can change chair timing or ability feel—confirm on the Updates Hub.
- Layer roster knowledge. After basics, open Classes or Masks so you know what the enemy kit can actually do.
Guide map by player goal
| Goal | Open first | Then read |
|---|---|---|
| Survive your first night | Getting Started | Controls |
| Stop dying in chase | Looping | Class tier list |
| Secure more kills | Killer Guide | Mask tier list |
| Learn West Park | West Park | Looping |
| Win on objectives | Generators and Escape | Getting Started |
| Spend Shards wisely | Codes | Tier List Hub |
| Prep before queue | Tools | Controls |
What these guides intentionally skip
We do not pad pages with generic Roblox advice unrelated to Murderthon’s 4v1 rules. We do not invent YouTube IDs. We do not teach account-risk cheats—see the cautionary Scripts Hub if that is your search intent. We also avoid promising exact frame data while the alpha still changes; timings are described as habits and priorities, then refined when patch notes stabilize.
Keep learning across the wiki
- Roster deep-dives: Players Hub
- Rankings: Tier List Hub
- Live-ops: Updates Hub, patch notes, and Mask of Slasher
- Official play link and community pointers: Official Links
Start with Getting Started if you are unsure; branch into looping, killer play, West Park routing, or generators-and-escape as soon as match goals feel familiar.
Frequently Asked Questions
Quick answers for Murderthon survivors and Masks.
Which Murderthon guide should I read first?
Start with Getting Started, then Controls. Add Looping if you play Classes, the Killer Guide if you main Masks, West Park for map routing, and Generators and Escape for macro wins.
Are these guides for the Roblox alpha?
Yes. They target the live early-access Murderthon build and call out where bugs or patches may change advice.
Do guides include YouTube videos?
Some pages embed one real video mid-article. We never invent video IDs or stack multiple embeds on one page.
Where do I learn Class and Mask abilities?
Use the Players hub for roster kits, then the Tier List hub for rankings that build on those kits.
How do guides differ from the Tools page?
Guides teach why and how. Tools gives fast checklists for controls, loadouts, Shard farming, and code redeem steps.